Contact us today:

(847) 934-4500
tdaro@bernardandcompany.com

Contact us today:
(847) 934-4500
tdaro@bernardandcompany.com
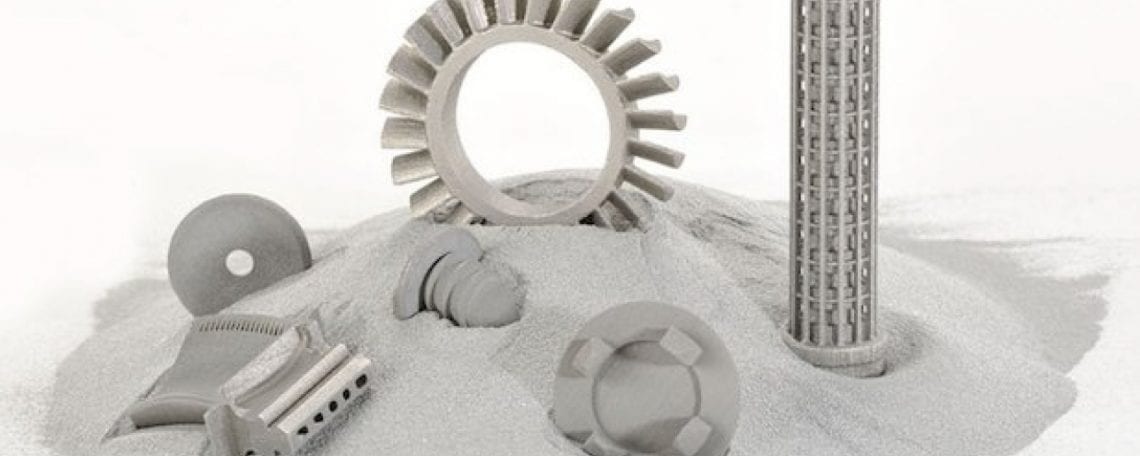
Exact Metrology, a comprehensive metrology service provider, participated in a webinar on February 20, 2020. The general subject involved testing and inspecting parts that are 3D printed. Josh Schradin, a project manager at Exact Metrology, gave a presentation on industrial CT (Computed Tomography) for additive manufacturing.
A CT scan, also known as an X-ray Computed Tomography (X-ray CT) or a Computerized Axial Tomography scan (CAT scan) uses computer-processed combinations of several X-ray images taken from different angles to produce cross-sectional (tomographic) images or “virtual slices” of specific areas of a scanned object. This allows the user to see inside the object without cutting or damaging it. The basic components of a CT system are its X-ray source, the sample on a rotary table and a detector (see image 1).

Magnification is also an important part of CT scanning. Moving the object closer to the X-ray source provides a larger shadow, optimizing the resolution of the final image, while having an object closer to the detector provides a smaller shadow that decreases the final resolution.
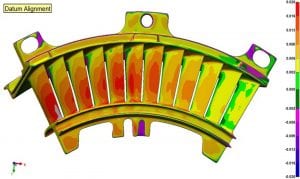
Trapped powder can be located during the printing process either by magnification or using a color map that shows deviation to the nominal model (see image 8).
Product content positon allows manufacturers to audit their products and determine if embedded objects are placed properly.
Exact Metrology is an ISO AS9100 Certified along with being FFL and ITAR Registered.
Exact Metrology, with facilities in Cincinnati, Ohio, Milwaukee, Wisconsin and Moline, Illinois and affiliated offices throughout the Midwest, is a comprehensive metrology services provider, offering customers 3D and CT scanning, reverse engineering, quality inspection, product development and 2D drawings. The company also provides turnkey metrology solutions, including equipment sales and lease/rental arrangements.
For more information, please contact:
For information, please contact:
EXACT METROLOGY, INC.
Dean Solberg
20515 Industry Avenue
Brookfield, WI 53045
Local: 262-533-0800
www.exactmetrology.com
deans@exactmetrology.com
Steve Young
Exact Metrology, Inc.
11575 Goldcoast Drive
Cincinnati, OH 45249
Toll Free: 866-722-2600
Local: 513-831-6620
www.exactmetrology.com
stevey@exactmetrology.com